|
|
|
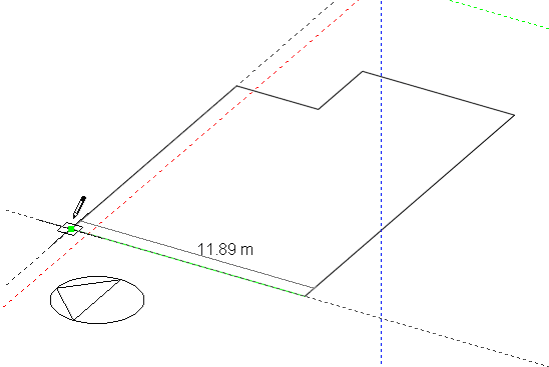
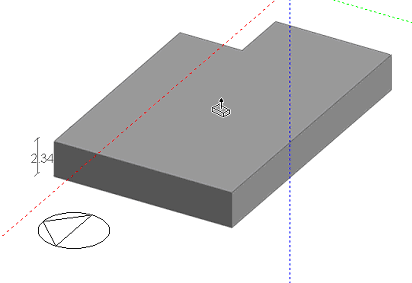
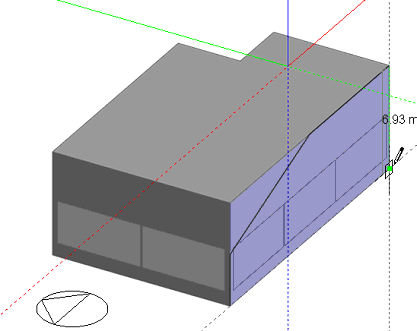
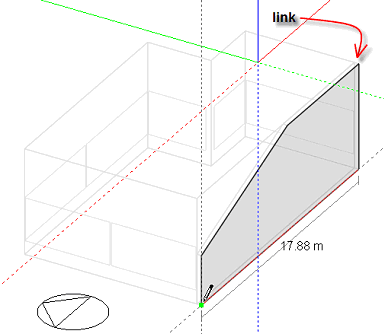
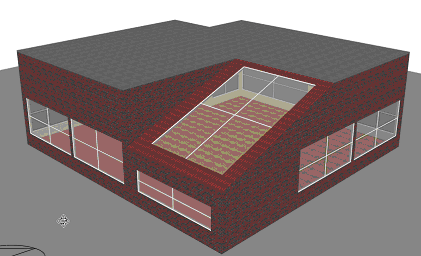
Blocks are the basic objects used to create a DesignBuilder model. A block represents the outer shell of the model or part of the model. A finished block comprises a set of building elements, which may include external walls, roofs and floor slabs, the thickness of which are determined model data, block facades are automatically created with the required configuration of windows, doors, vents and solar shading devices. A block may be divided internally into any number of zones by drawing partitions and where needed, voids or courtyards can also be incorporated. Custom openings (windows, doors, etc.) can be added to block facades via associated internal zone surfaces. Blocks can be moved, copied and rotated. Blocks can also be cut or stretched and block faces can be dragged to different positions. A block is created by drawing the base perimeter using the selected Notice that after you place the first perimeter point using the polygon shape, a perimeter line will rubber-band away from this point and as you move the cursor around, the line will change colour and ‘stick’ slightly when it becomes parallel with one of the major axes, this is known as . This feature is useful for general alignment but is particularly important for defining the orientation of the base perimeter when drawing horizontal extrusions without using an existing block face, but we’ll refer to this later. Once the perimeter has been completed it can be dragged to form an extruded When a block has been placed, additional blocks can be drawn onto any surface of the block to form more complex aggregate blocks. When a block is added to the surface of another block, a geometric link is automatically created between the two blocks:
A hole can be added to the mating surface of this link in order to form one contiguous space:
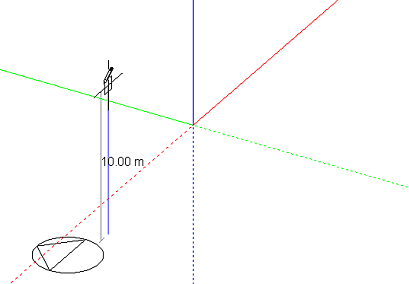
As already illustrated, a block perimeter can be drawn on the ground plane or onto the surface of an existing block in which case the perimeter is extruded normal to the surface on which it is drawn. To create horizontal extrusions from a horizontal plane, the first perimeter line can be snapped
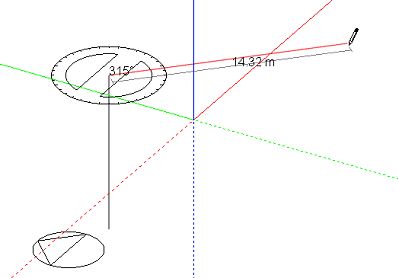
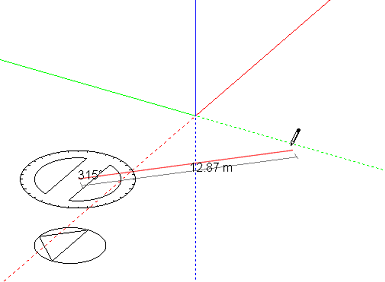
can be used to place the second line in order to accurately define the orientation of the plane relative to the base or ground plane:
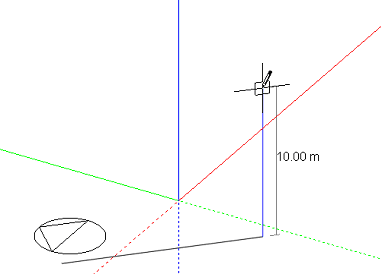
Alternatively, the orientation of the plane can be defined using the first line:
The horizontal extrusion can the be formed by snapping the second line to the Z-axis:
Notice that once a vertical plane has been defined it will be ‘remembered’ until the ‘Add new block’ command is cancelled and so the perimeter can be ‘unwound’ using the ESC key or the right-click menu ‘Undo last point’ entry and any perimeter shape drawn into the stored plane.
|